There’s been a sudden general interest in VPNs again with the recent policy developments in the US. There are many important steps users can take to bolster their privacy and you can get a good run down of them in this EFF article.
It is worth re-stating that VPNs are not a magic bullet. They typically just shift the threat downstream. A substantial number of VPN providers are not trustworthy and likely more dangerous than your ISP. Most users will get more bang for their buck using a good ad blocker and HTTPS Everywhere.
That being said, if you don’t trust your connection provider (whether if be a coffee shop WiFi or your ISP) and you trust your VPN end point more, you can benefit from using a VPN in that situation. Remember that there will also likely be a performance penalty, but you’re not using this to stream Netflix right? Right?
If you are an AWS user and you want to run your own VPN, either full time or on a needs basis, you can do so in a few clicks using CloudFormation and OpenVPN. If you want to just get to the fun part the stack can be launched from this template.
Some notes on costing. This setup uses an EIP (Elastic IP) so you can maintain the same IP between server restarts, allowing you to put the IP in DNS if that makes like easier for you. This will not cost anything when running, but it will generate a small hourly cost (~ $0.005/hour) when not associated to a running instance. This is not that much less than the cost of running a t2.nano instance full time (~ $0.0059/hour) so if that is your instance of choice it is not particularly advantageous to stop the instance when not using. If that level of cost is undesirable than you want to tear down the whole stack when not using and receate when needed. If your VPN needs dictate a larger instance type you can reduce your costs when unused by stopping the instance and incurring the small charge for the EIP.
At the start of our CloudFormation template we have the version, template description and parameters we expect:
---
AWSTemplateFormatVersion: "2010-09-09"

Description: Establishes an OpenVPN server in a public subnet within a new VPC

Parameters:
  InstanceAMI:
    Description: OpenVPN AMI
    Type: String
    Default: ami-bc3566ab

  InstanceType:
    Description: OpenVPN Instance Type
    Type: String
    AllowedValues:
      - t2.nano
      - t2.micro
      - t2.small
      - t2.medium
      - t2.large
    Default: t2.micro

  KeyName:
    Description: SSH Key Name
    Type: AWS::EC2::KeyPair::KeyName

  AdminPassword:
    Description: OpenVPN Admin Password
    Type: String
    NoEcho: true
    MinLength: 8
    MaxLength: 32
    ConstraintDescription: Must be at least 8 chars long

  RouteAllTraffic:
    Description: Should all local traffic go over VPN when connected?
    Type: Number
    AllowedValues:
      - 0
      - 1
    Default: 1

  UseVPNDNS:
    Description: Should client use VPN supplied DNS when connected?
    Type: Number
    AllowedValues:
      - 0
      - 1
    Default: 1
The parameters should be somewhat self explanatory, given the descriptions, but we are asking for the OpenVPN AMI, with a default value for us-east-1, the instance type, a key pair if desired (note the security group in the template does NOT open port 22 so you need to add this if desired), your VPN admin and connection password, and the opton to push config to the client on connect that sends all traffic and DNS through the VPN.
Getting into the Resources section of the template we define our services. First up are our VPC, subnet (public), and associated Internet Gateway and routing tables/routes:
Resources:
  VPC:
    Type: AWS::EC2::VPC
    Properties:
      CidrBlock: "10.0.0.0/16"
      Tags:
      - Key: Name
        Value: OpenVPN

  PublicSubnet:
    Type: AWS::EC2::Subnet
    Properties:
      VpcId: !Ref VPC
      CidrBlock: "10.0.0.0/24"
      Tags:
      - Key: Name
        Value: OpenVPN Public Subnet

  InternetGateway:
    Type: AWS::EC2::InternetGateway

  AttachGateway:
    Type: AWS::EC2::VPCGatewayAttachment
    Properties:
      VpcId: !Ref VPC
      InternetGatewayId: !Ref InternetGateway

  RouteTable:
    Type: AWS::EC2::RouteTable
    Properties:
      VpcId: !Ref VPC

  Route:
    Type: AWS::EC2::Route
    DependsOn: AttachGateway
    Properties:
      RouteTableId: !Ref RouteTable
      DestinationCidrBlock: "0.0.0.0/0"
      GatewayId: !Ref InternetGateway

  SubnetRouteTableAssociation:
    Type: AWS::EC2::SubnetRouteTableAssociation
    Properties:
      SubnetId: !Ref PublicSubnet
      RouteTableId: !Ref RouteTable
Following that are the Elastic IP, the OpenVPN instance, the security group and IP association:
  IPAddress:
    Type: AWS::EC2::EIP
    Properties:
      Domain: "vpc"

  SecurityGroup:
    Type: AWS::EC2::SecurityGroup
    Properties:
      VpcId: !Ref VPC
      GroupDescription: Security group for OpenVPN Server
      SecurityGroupIngress:
      - IpProtocol: tcp
        FromPort: 443
        ToPort: 443
        CidrIp: "0.0.0.0/0"
      - IpProtocol: tcp
        FromPort: 943
        ToPort: 943
        CidrIp: "0.0.0.0/0"
      - IpProtocol: udp
        FromPort: 1194
        ToPort: 1194
        CidrIp: "0.0.0.0/0"

  OpenVPNInstance:
    Type: AWS::EC2::Instance
    DependsOn: IPAddress
    Properties:
      ImageId: !Ref InstanceAMI
      InstanceType: !Ref InstanceType
      KeyName: !Ref KeyName
      SecurityGroupIds:
      - !Ref SecurityGroup
      SubnetId: !Ref PublicSubnet
      Tags:
       - Key: Name
         Value: OpenVPN Instance
      UserData:
        Fn::Base64: !Sub |
          public_hostname=${IPAddress}
          admin_user=openvpn
          admin_pw=${AdminPassword}
          reroute_gw=${RouteAllTraffic}
          reroute_dns=${UseVPNDNS}

  IPAssociaton:
    Type: AWS::EC2::EIPAssociation
    DependsOn: OpenVPNInstance
    Properties:
      AllocationId: !GetAtt IPAddress.AllocationId
      InstanceId: !Ref OpenVPNInstance
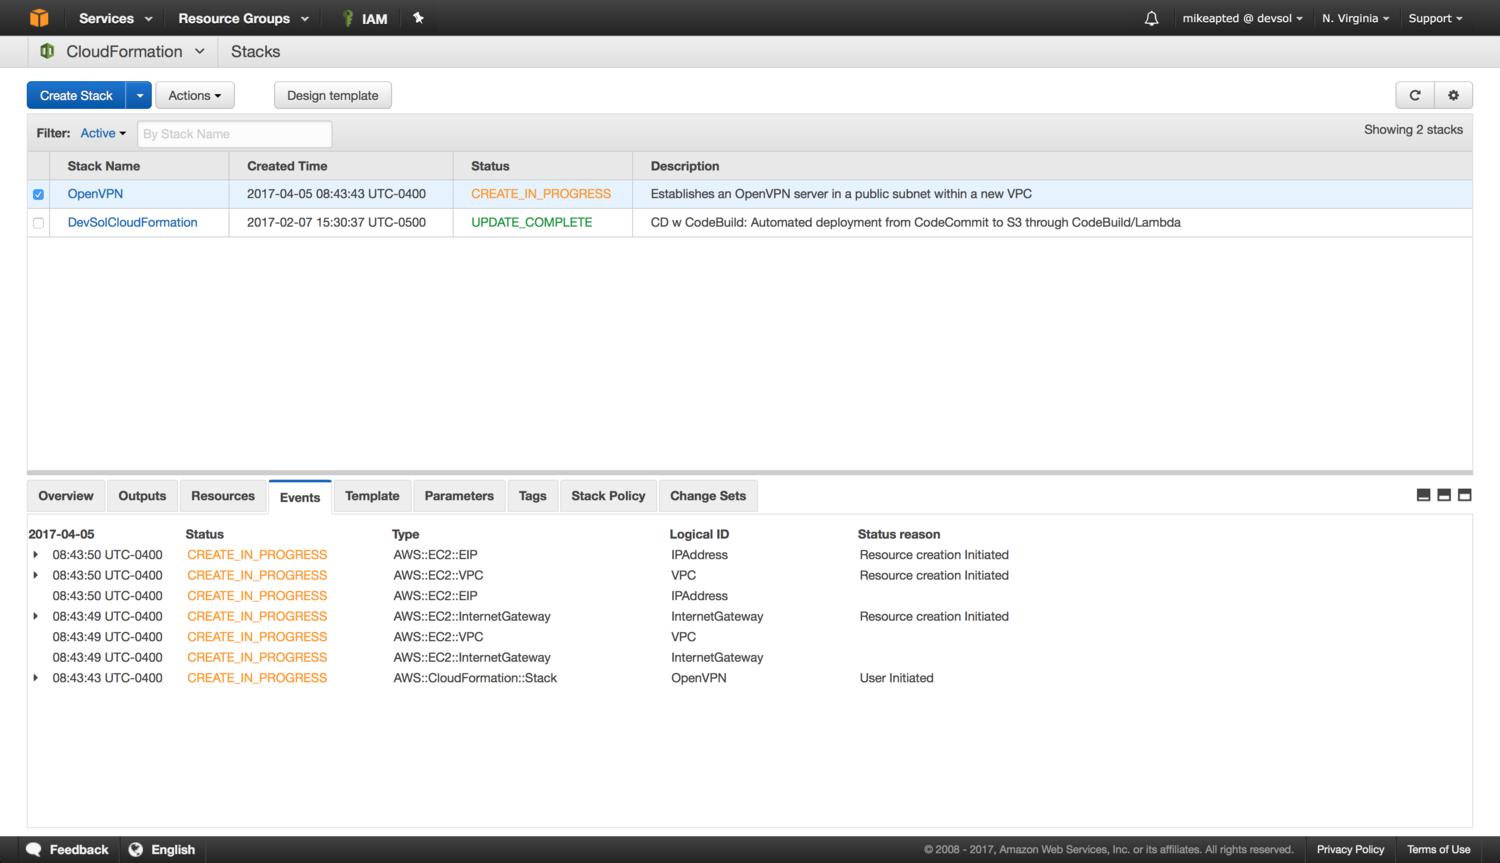
We can kick off it’s creation either in the CloudFormation web console or on the CLI with:
aws cloudformation create-stack --stack-name OpenVPN --template-body file://openvpn-vpc.yaml --parameters ParameterKey=InstanceType,
ParameterValue=t2.nano ParameterKey=AdminPassword,ParameterValue=UseAStrongPasswordPlease
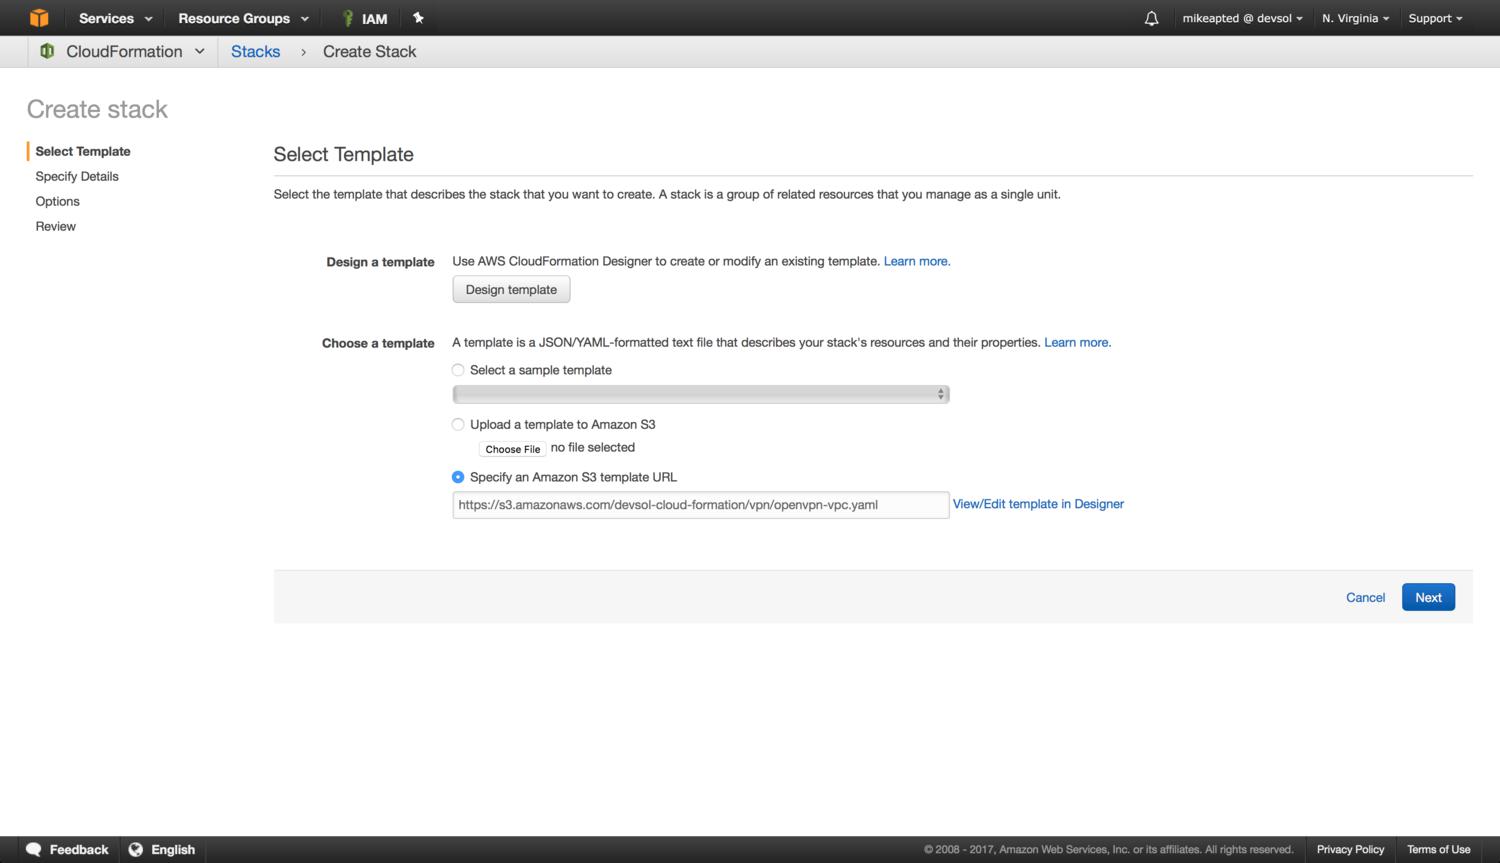
For the web console you would do the following steps, first create a new stack using the template:
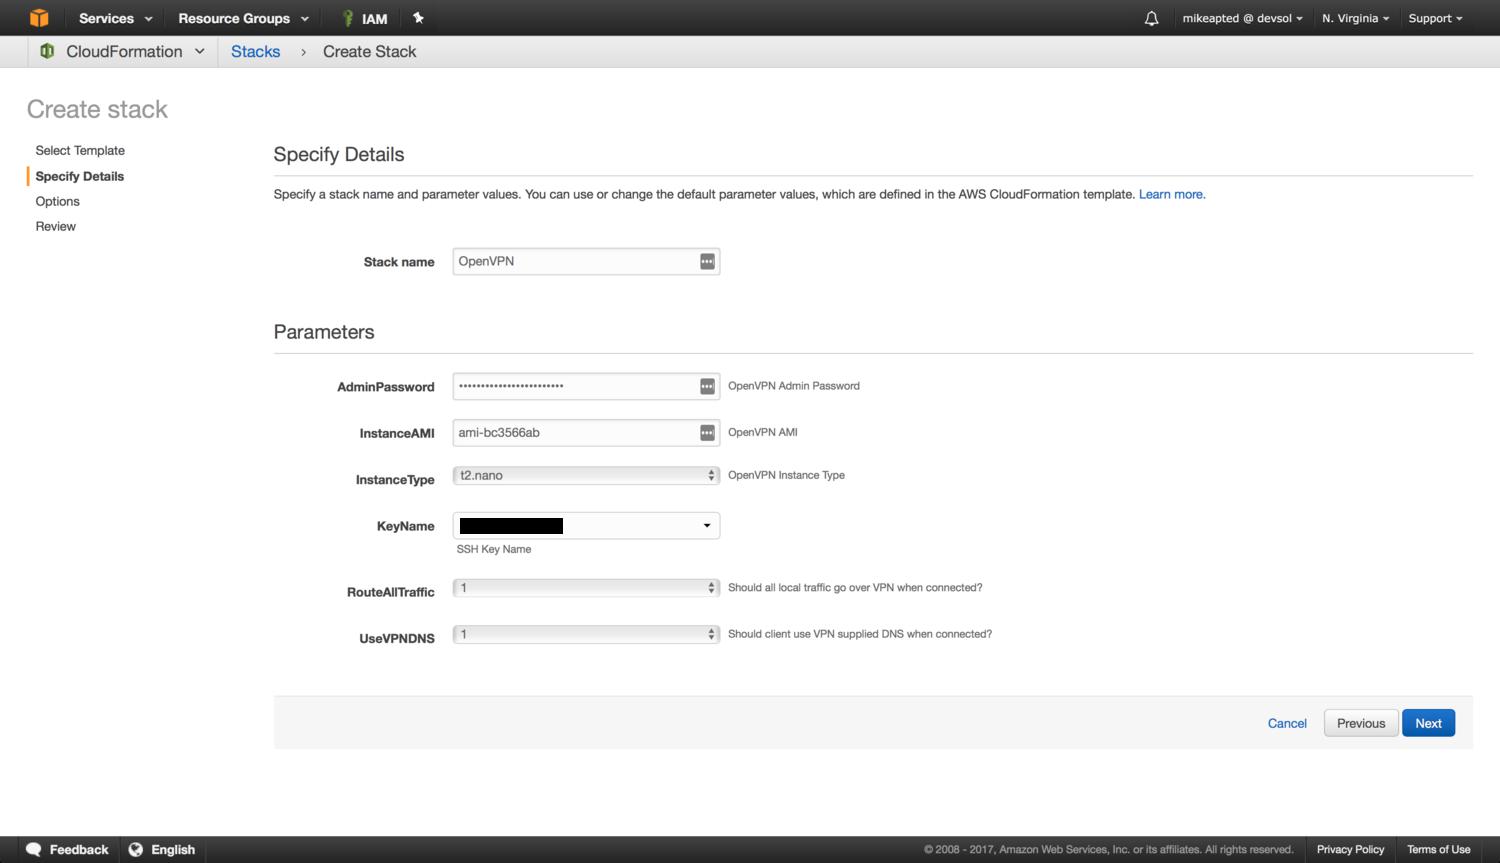
You can customize the AMI (based on region, license requirements, etc.) and set your instance type, password and other options:
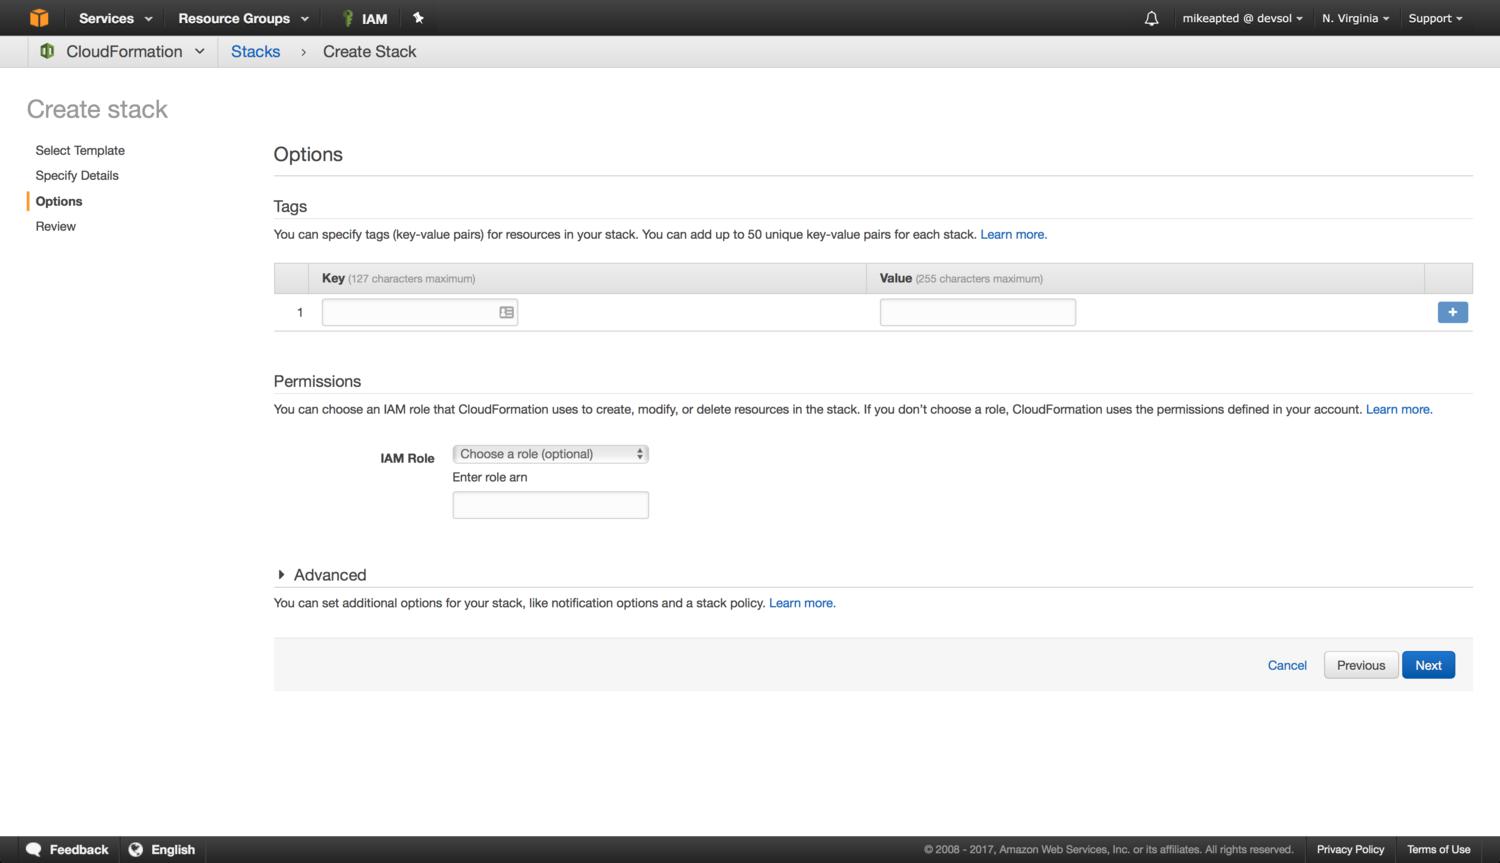
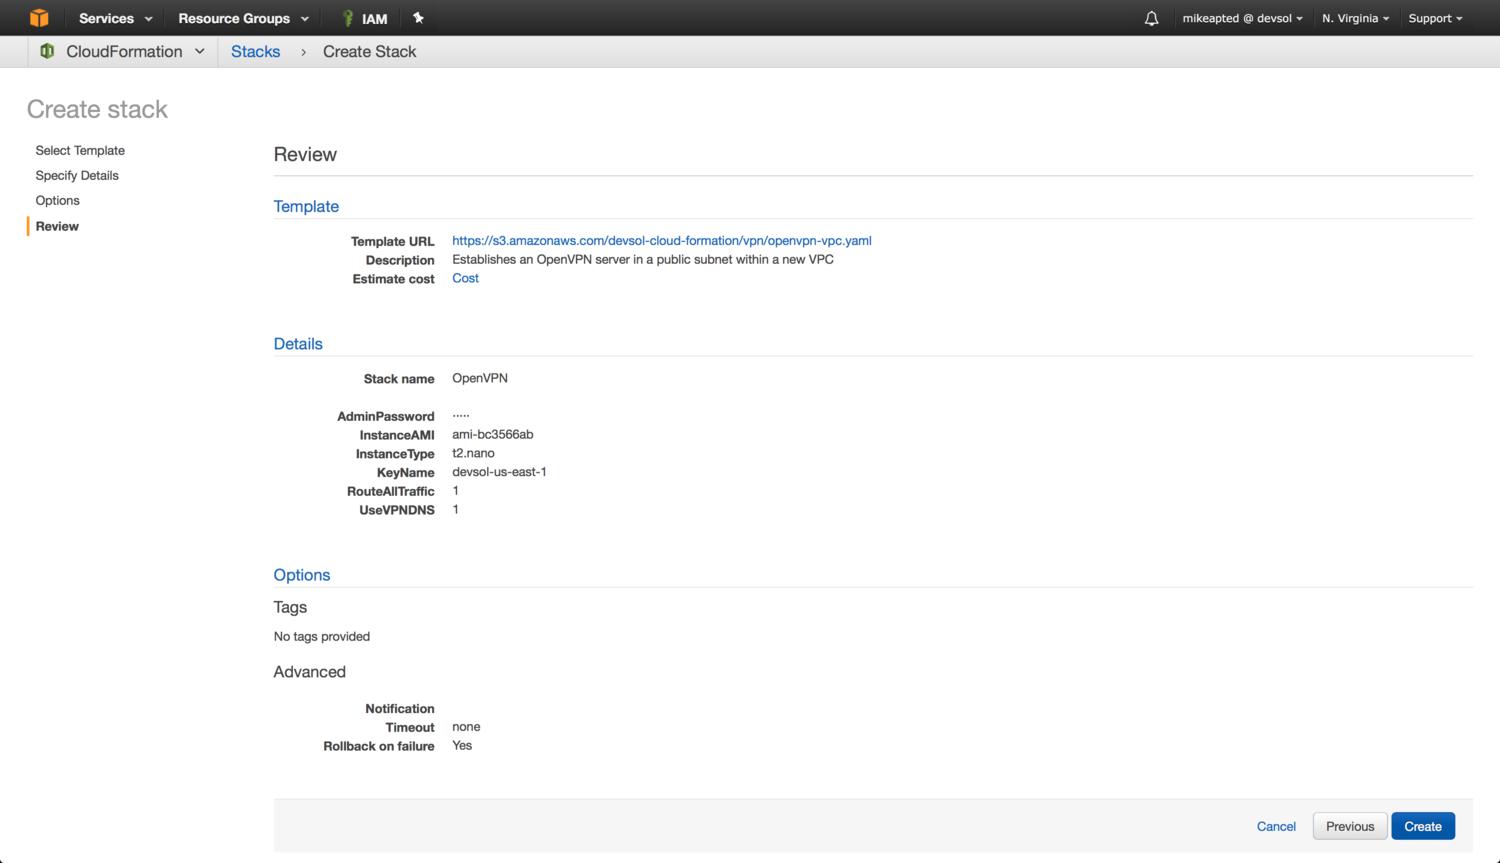
The next two screens likely involve no required action, unless you want to add additional tags to the resources. You can review and click Create to build the stack:
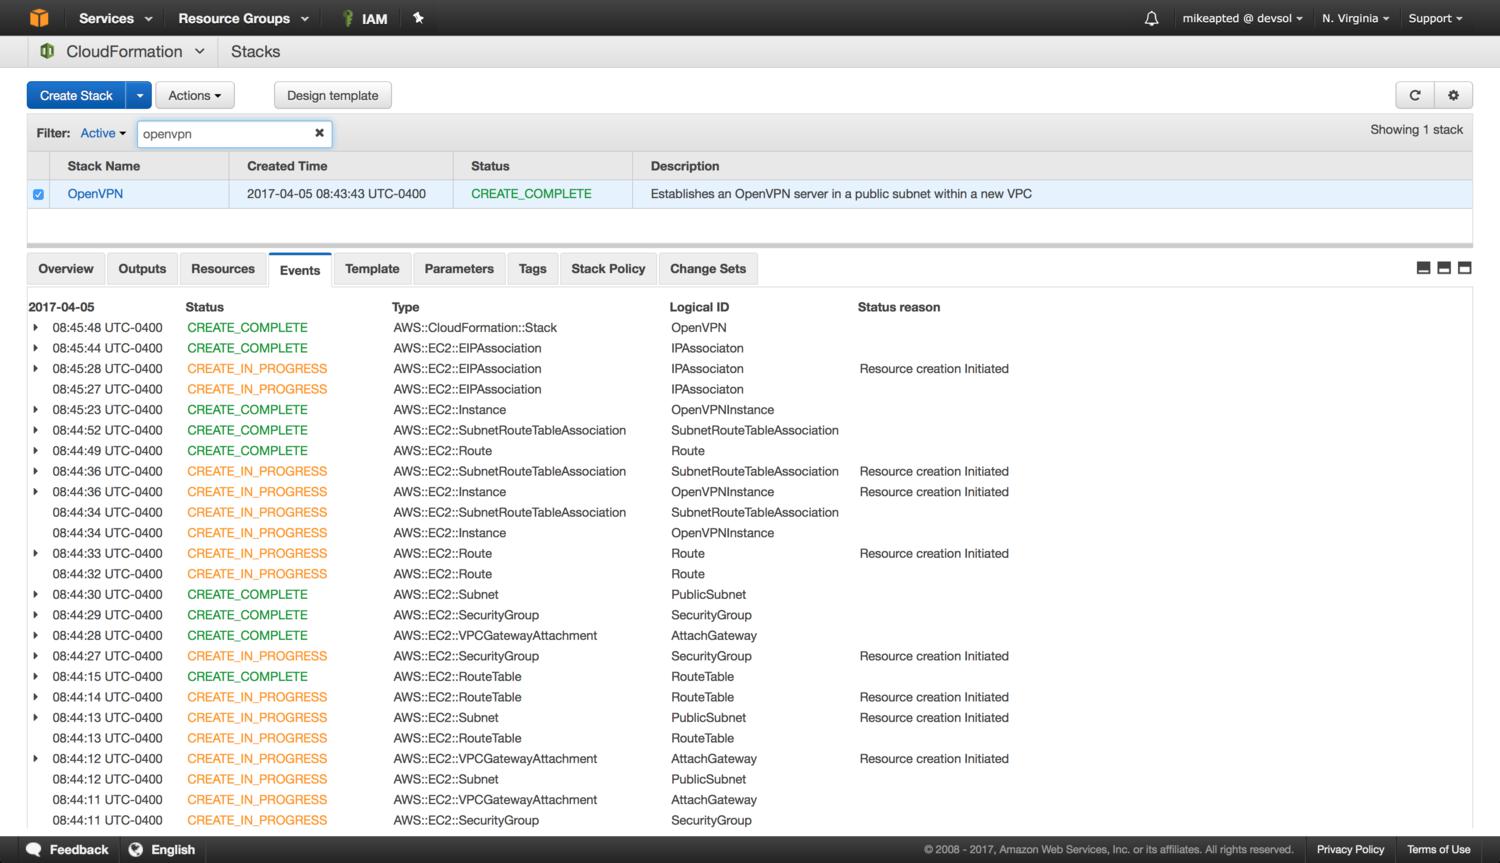
You can watch the progress in the console as the resources are created, and after a couple minutes you will see the stack change to CREATE_COMPLETE.
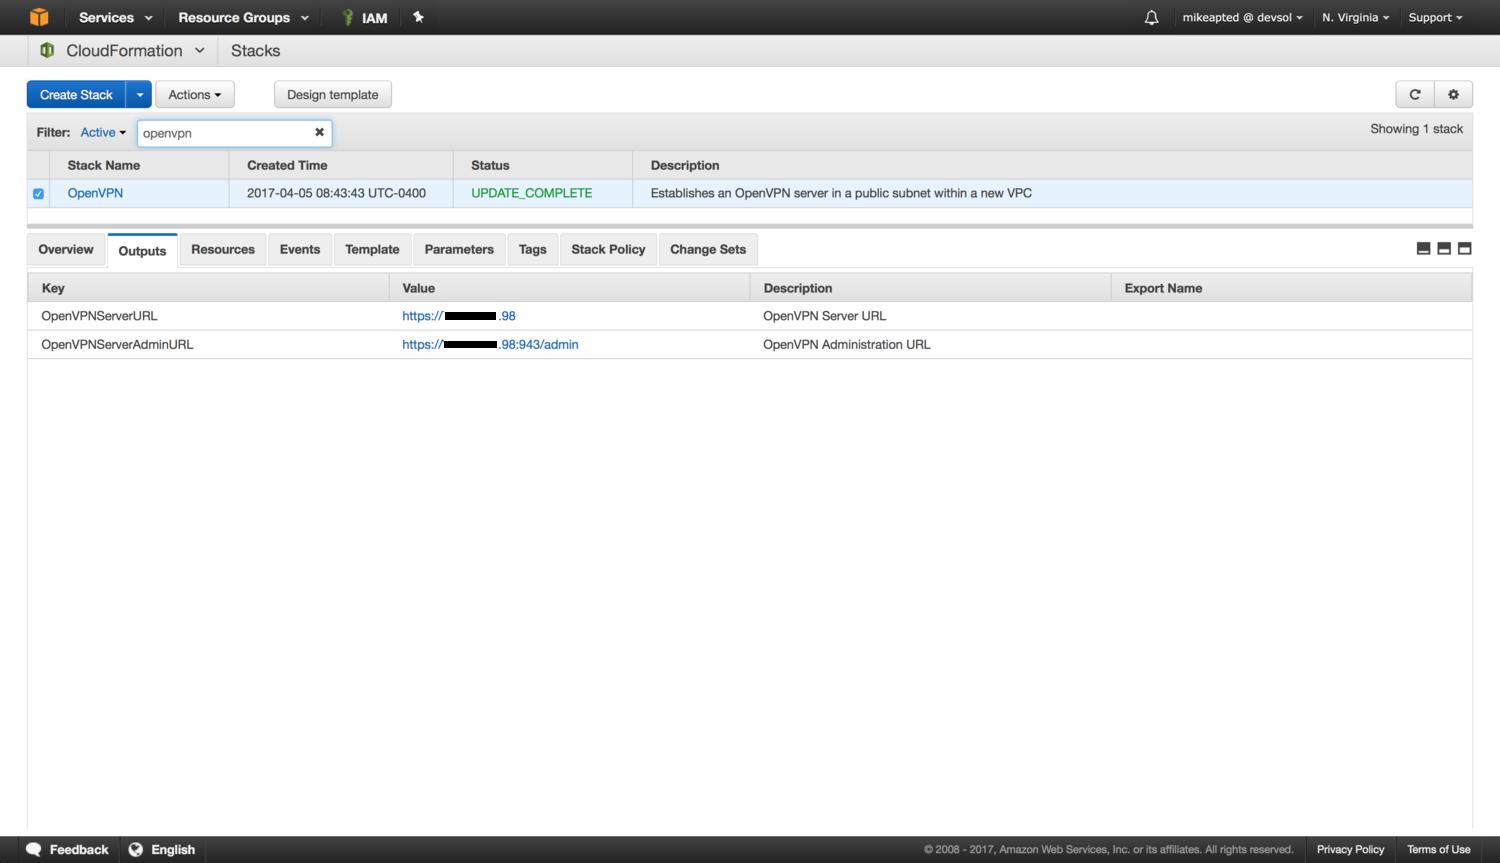
At that point you can use the Outputs tab to get the URL for the admin login, or the IP address for adding to DNS, setting up your OpenVPN client, etc.:
That’s it. You have a self provisioned OpenVPN server that you can turn on/off, build/teardown at your leisure. If you want to launch it in different AWS regions you will need to ensure you track down the right AMI for that region (this is another post in itself) and the same applies if you want to use an image outside the free license model which allows a max of 2 users to connect simultaneously.
Happy VPNing!